Installing a swinging glass shower door in Toledo requires careful preparation and specific tools. First, clean and prepare the enclosure surface. Measure and mark hinge placement points accurately using measuring tape and a level. Drill pilot holes and install compatible hinges securely. Test the door's swing for smooth operation and address any issues. Protect hinges from water damage and enjoy your elegant new shower door. Essential tools include a drill, measuring tape, level, and appropriate fasteners. Remember to prioritize safety throughout the installation process.
“Looking to install a swinging glass shower door? This comprehensive guide breaks down the process step-by-step, from understanding your shower door design to final adjustments. Perfect for DIY enthusiasts or professionals alike, we’ll walk you through the essential tools and safety gear needed, surface preparation, precise hinge placement, and testing that smooth swinging motion. Discover the secrets to a successful swinging glass shower door installation in Toledo.”
- Understanding Your Glass Shower Door Design
- Tools and Safety Gear for the Installation Process
- Preparing the Shower Enclosure Surface
- Measuring and Marking for Hinge Placement
- Attaching Hinges to the Glass Door Panels
- Final Adjustments and Testing the Swinging Motion
Understanding Your Glass Shower Door Design

When installing a swinging glass shower door, understanding your specific design is crucial. Different shower doors may have unique features and requirements, so taking measurements and identifying the type of hinges needed is the first step in the installation process. If you’re dealing with a standard swinging glass shower door in Toledo, you’ll typically require specific tools and hardware designed for this purpose.
The swinging glass shower door installation process involves several steps. You’ll need to mark where the hinges will be attached, drill pilot holes, and then insert the hinges securely. Ensure that your chosen hinges are compatible with your door’s weight and size to guarantee a smooth swing and long-lasting performance. Knowing the tools required for this task—such as a drill, measuring tape, level, and appropriate fasteners—will make the installation process more manageable and successful.
Tools and Safety Gear for the Installation Process

Installing a swinging glass shower door requires a set of specific tools and safety gear to ensure the process is smooth and secure. For the swinging glass shower door installation toledo or any similar project, you’ll need basic tools like a drill with various bits, a measuring tape, a level, and a pencil for marking. Additionally, a hammer, adjustable wrenches, and a set of pliers will be invaluable for securing hinges and handles.
Safety should never be compromised during the swinging glass shower door installation steps. Wear protective eyewear to shield your eyes from debris, and consider using work gloves to protect your hands. Ensure proper ventilation in the workspace, as cutting and drilling can generate dust and fumes. Lastly, have a helper at hand to hold the door steady during critical steps, enhancing both safety and accuracy.
Preparing the Shower Enclosure Surface

Before installing any hinges, preparing the surface of your shower enclosure is a crucial step in the swinging glass shower door installation toledo process. Ensure the area is clean and free from debris or dust. Since most shower enclosures are made of glass or metal, use a suitable cleaner to remove any grease or grime that might affect adhesion. Sanding the surface lightly can also help create a rougher texture, allowing for better grip when attaching the hinges.
For a successful swinging glass shower door installation steps, gather the right tools required for swinging shower door installation. This typically includes measuring tape, a level, pencil, drill with appropriate bits, screwdriver, and of course, the hinges specifically designed for glass doors. Each tool plays its part in marking, drilling, and securing the hinges correctly, ensuring your new door swings smoothly and securely.
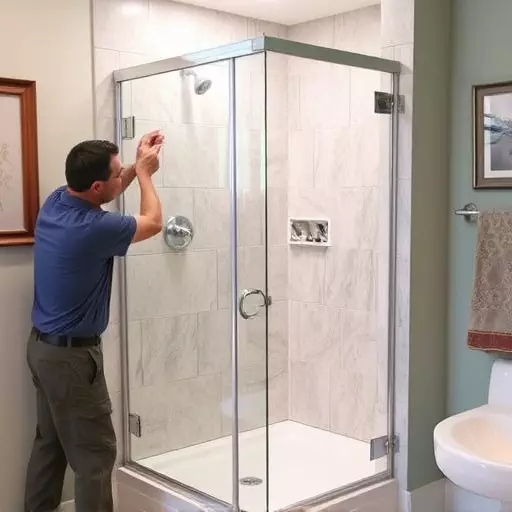
Measuring and Marking for Hinge Placement

When installing a swinging glass shower door in Toledo, accurate hinge placement is crucial for a seamless and functional fit. Before securing the hinges, measure the door frame carefully to ensure proper alignment. Use a tape measure to determine the height and width of the opening, marking these measurements on the frame with a pencil. These marks will guide the placement of the hinges according to the manufacturer’s instructions.
The tools required for this step include a measuring tape, level, pencil, and sometimes a marker or piece of painter’s tape. A level is essential to ensure the door will hang straight. Marking the hinge placements precisely allows for a smooth swinging glass shower door installation process, making it easier to adjust and align the door later.
Attaching Hinges to the Glass Door Panels

When installing a swinging glass shower door, attaching hinges to the door panels is a crucial step. First, ensure you have all the necessary tools, including a level, measuring tape, drill, screwdriver, and the appropriate hinges for your door size. Start by cleaning the door panels and ensuring they are properly aligned. Use the level to check verticality and adjust if needed. Mark the hinge placement points on the door using a pencil, making sure they align with the frame’s mounting holes. Drill pilot holes at these marks, being careful not to over-drill to prevent glass damage. Install the hinges securely using the provided hardware and a screwdriver, ensuring each hinge is level and properly secured. Once hung, test the swing of the door to ensure smooth operation.
This process requires precision and the right tools for a successful swinging glass shower door installation in Toledo or any location. Following these steps will help you achieve a secure and functional fitting, enhancing your bathroom’s aesthetic appeal.
Final Adjustments and Testing the Swinging Motion

After securing the hinges and adjusting the height, it’s time to make the final touches and ensure everything functions smoothly. First, test the swinging motion by gently pushing or pulling on the door to verify that it swings freely and opens and closes easily. Ensure there are no obstructions or catches during this test run. If any issues arise, double-check the hinge alignment and re-tighten any loose screws.
The final step is to add a touch of finishing oil (if applicable) to the hinges and door edges to protect them from water damage and enhance their appearance. Once satisfied with the installation, you can now enjoy your newly installed swinging glass shower door, making your morning routine a bit more elegant and convenient. Remember that these final adjustments are crucial for a seamless swinging glass shower door installation in Toledo, ensuring a pleasant user experience throughout years of use.